
How to Clean Makeup Brushes: A Complete Guide
Introduction
Cleaning your makeup brushes regularly isn't just about hygiene—it's essential for flawless makeup application and extending the life of your tools. Dirty brushes can harbor bacteria, oil, and product buildup that may lead to breakouts and affect how your makeup applies. In this guide, we'll walk through simple, effective methods to keep your brushes in pristine condition, whether you have just five minutes or want to do a deep clean.
What You'll Need
Basic Cleaning Supplies:
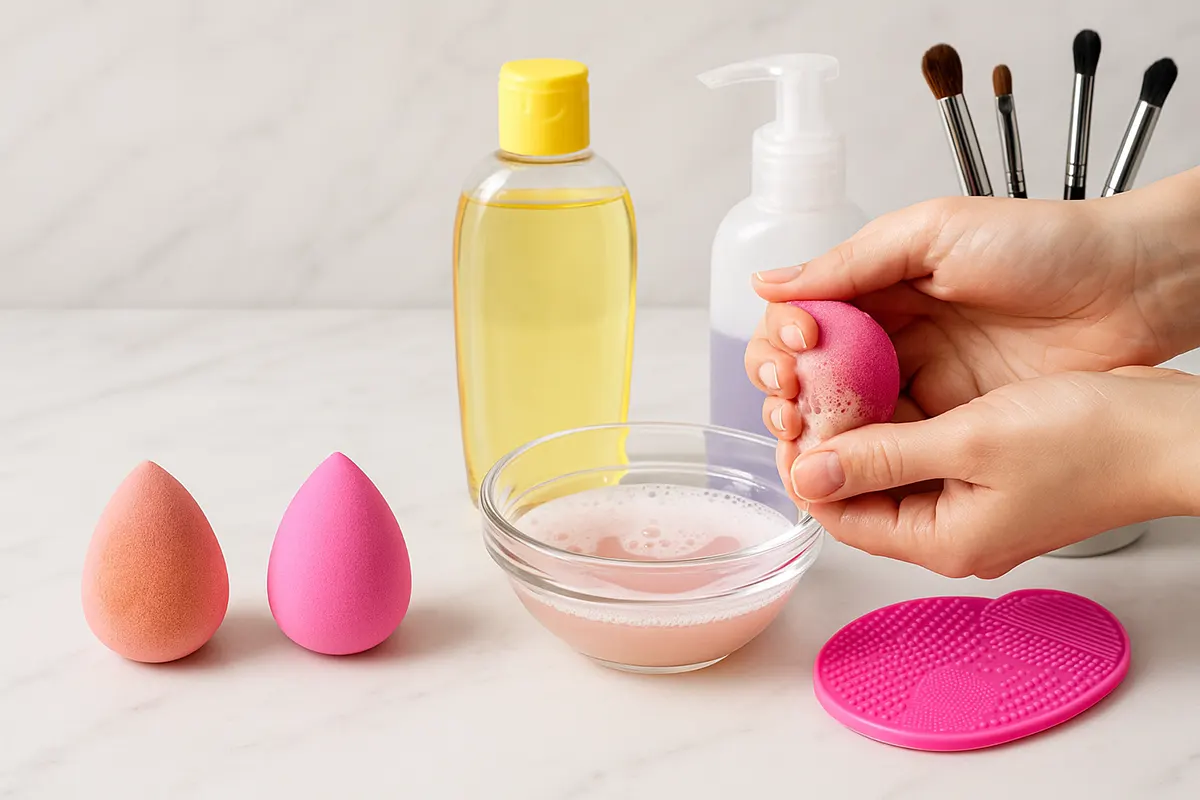
- Gentle soap (baby shampoo, castile soap, or brush cleanser)
- Lukewarm water
- Clean towel
- Silicone cleaning mat or pad (optional but recommended)
- Brush guard protectors (optional)
- Brush drying rack or stand (optional)
Quick 5-Minute Brush Cleaning Method
Step 1: Prepare Your Cleaning Solution
Mix a small amount of gentle soap with lukewarm water in a shallow bowl. For spot cleaning between deeper washes, you can also use a dedicated brush cleaner spray.
Step 2: Swirl and Rinse
Wet the bristles (not the ferrule—the metal part) under lukewarm water, then swirl the brush in your soap solution. Gently massage the bristles between your fingers to work out makeup residue.
Step 3: Rinse and Reshape
Rinse thoroughly under running water until it runs clear. Gently squeeze excess water and reshape the bristles to their original form.
Step 4: Quick-Dry Method
For faster drying, gently press the wet bristles between a clean microfiber towel to remove excess moisture. Then place brushes flat on a towel with bristles hanging over the edge of a counter.
10-Minute Weekly Brush Cleaning Routine
Step 1: Sort Your Brushes
Group your brushes by type (face brushes, eye brushes) and level of soiling. Heavily soiled brushes like foundation and concealer brushes need more attention.
Step 2: Use a Textured Surface
For more thorough cleaning, use a silicone cleaning mat or glove with textured surfaces. These help break down product buildup more effectively than your fingers alone.
Step 3: Deep Clean with Proper Technique
For each brush:
- Wet bristles under lukewarm water, pointing downward
- Apply cleanser to the textured surface or your palm
- Swirl and massage the bristles, creating a lather
- Rinse thoroughly until water runs clear
- Repeat if necessary for very soiled brushes
Step 4: Remove Excess Water
Gently squeeze water from the bristles with a clean towel, then reshape them.
Step 5: Proper Drying Position
Lay brushes flat on a towel with the bristles slightly elevated and hanging off an edge. This prevents water from seeping into the ferrule and loosening the glue.
15-Minute Monthly Deep Cleaning Process
Step 1: Pre-Treatment
For heavily soiled brushes or those used with cream/liquid products, apply a small amount of olive or coconut oil to break down stubborn product residue before washing with soap.
Step 2: Thorough Cleansing
Follow the weekly cleaning steps but spend extra time working the cleanser into the bristles, especially at the base where product can accumulate.
Step 3: Disinfection
After washing, you can soak brush bristles in a solution of water with a small amount of isopropyl alcohol (70%) for synthetic brushes. Limit soaking to just 2-3 minutes and avoid this step for natural hair brushes.
Step 4: Conditioning (Natural Hair Brushes Only)
For natural hair brushes, apply a tiny amount of conditioner, rinse thoroughly, and squeeze out excess water.
Step 5: Complete Drying
Allow at least 8-12 hours of drying time after a deep clean. Ensure brushes are completely dry before using them again.
Special Care for Different Types of Brushes
Synthetic Brushes
These are typically more durable and can withstand more frequent washing. They're ideal for cream and liquid products.
Natural Hair Brushes
These require gentler care and less frequent washing. Avoid harsh soaps and hot water which can damage the delicate hairs.
Dense Foundation Brushes
These often need extra attention to clean thoroughly. Use a brush egg or silicone mat to really work the cleanser through all the bristles.
How Often Should You Clean Your Brushes?
- **Foundation and concealer brushes:** Weekly
- **Powder and blush brushes:** Every 1-2 weeks
- **Eyeshadow brushes:** Every 2 weeks
- **Lip and eyeliner brushes:** After each use (especially for infection-prone areas)
Conclusion
Regular brush cleaning doesn't have to be time-consuming or complicated. Whether you opt for the 5-minute quick clean, the 10-minute weekly routine, or the thorough monthly deep clean, maintaining your brushes will improve your makeup application and protect your skin. Make brush cleaning a consistent part of your beauty routine, and your brushes (and your skin) will thank you!
Remember: Clean brushes = better application + healthier skin + longer-lasting tools. That's a beauty win all around!