
How to Wash Makeup Sponge: The Complete Guide
Makeup sponges have revolutionized how we apply foundation, concealer, and other face products. Their ability to create a flawless, airbrushed finish has made them a staple in both professional and personal makeup kits. However, these porous tools can quickly become breeding grounds for bacteria when not properly cleaned. This guide will walk you through effective methods to keep your makeup sponges clean, extending their lifespan and ensuring your skin stays healthy.
Why Cleaning Your Makeup Sponge Matters
Before diving into the cleaning methods, it's important to understand why regular cleaning is essential:
- **Prevents breakouts and skin infections** caused by bacteria buildup
- **Extends the lifespan** of your makeup sponge
- **Ensures better makeup application** without product buildup
- **Maintains the texture and elasticity** of the sponge material
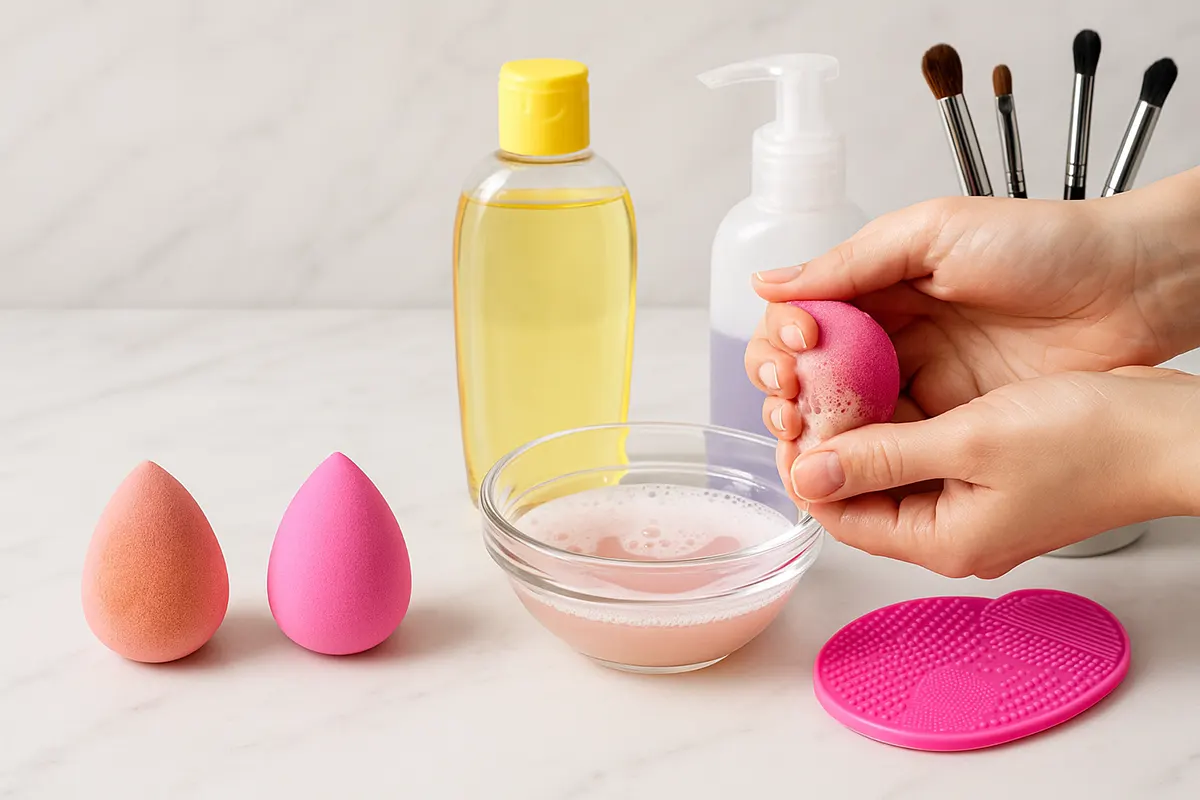
Essential Supplies for Cleaning Makeup Sponges
Here's what you'll need to properly clean your makeup sponges:
- Gentle, fragrance-free liquid soap or baby shampoo
- Specialized makeup brush and sponge cleanser (optional)
- Silicone cleaning pad or textured glove (optional)
- Clean towel
- Bowl or cup
- Warm water
- Ventilated area for drying
Comprehensive Cleaning Methods
Method 1: Quick Daily Cleanse
This method is perfect for daily maintenance between deeper cleanings.
- **Wet the sponge** thoroughly under running warm water, squeezing gently to saturate fully
- **Apply a small amount** of liquid soap or cleanser to the stained areas
- **Gently massage** the soap into the sponge using your fingertips
- **Rinse thoroughly** until water runs clear, squeezing repeatedly
- **Press** (don't wring) the sponge in a clean towel to remove excess water
- **Air dry** in a well-ventilated area away from direct sunlight
Method 2: Deep Soak Cleaning
This thorough method should be used weekly for a comprehensive clean.
- **Fill a small bowl** with warm water
- **Add 1-2 drops** of liquid soap or cleanser to the water
- **Submerge the sponge** and gently squeeze to allow the solution to penetrate
- **Soak for 15-30 minutes** (longer for heavily soiled sponges)
- **Massage and squeeze** the sponge underwater to release makeup residue
- **Rinse thoroughly** under running water until no soap remains
- **Press between a clean towel** to remove excess moisture
- **Place in a ventilated area** to dry completely (6-12 hours)
Method 3: Microwave Sanitizing Method
This method provides deep cleaning and sanitizing for extremely soiled sponges.
- **Mix a solution** of water and a few drops of soap in a microwave-safe cup
- **Submerge the makeup sponge** completely in the solution
- **Microwave for 60 seconds** (ensure sponge is fully wet to prevent burning)
- **Allow to cool** completely before handling
- **Gently squeeze and rinse** under running water
- **Press excess water out** with a clean towel
- **Air dry completely** before next use
Troubleshooting Common Issues
Persistent Stains
If your sponge has stubborn stains even after cleaning:
- **Create a paste** with baking soda and water
- **Gently rub** the paste onto stained areas
- **Let sit for 10 minutes** before rinsing thoroughly
Misshapen Sponges
To restore a misshapen sponge:
- **Wet completely** with warm water
- **Gently reshape** with your fingers
- **Allow to air dry** in its proper form
When to Replace Your Makeup Sponge
Even with proper cleaning, makeup sponges don't last forever. Look for these signs that it's time for a replacement:
- **Tears or missing pieces** in the sponge
- **Permanent discoloration** that doesn't wash out
- **Rough texture** that doesn't soften when wet
- **Failure to expand** properly when wet
- **Persistent odor** even after thorough cleaning
Most quality makeup sponges should last 3-6 months with proper care and regular cleaning.
Maintaining Your Makeup Brushes and Sponges Together
Many makeup users have both sponges and eye makeup brushes in their collection. Here's how to maintain them together efficiently:
- **Designate a cleaning day** each week for all tools
- **Clean brushes first**, then sponges (as sponges need longer drying time)
- **Use similar gentle cleansers** for both tool types
- **Store separately** while drying to prevent texture transfer
Final Thoughts
Clean makeup sponges are essential for flawless makeup application and maintaining healthy skin. By incorporating these cleaning methods into your beauty routine, you'll extend the life of your tools while ensuring your complexion stays clear and beautiful.
Remember that consistency is key - a quick daily rinse and weekly deep cleaning will keep your makeup sponges in optimal condition, saving you money and protecting your skin in the long run.
Proper cleaning of makeup tools, including both sponges and eye makeup brushes, is a small investment of time that pays significant dividends in the quality of your makeup application and the health of your skin.